Books
Storybook Bibles
Board Books
Picture Books
Middle Grade Fiction
Middle Grade Non-Fiction
Young Adult Fiction
Young Adult Non-Fiction
Bibles
NIV Children's Bibles
NIRV Children's Bibles
NKJV Children's Bibles
KJV Children's Bibles
The Story
Kids Bible Covers
Storybook Bibles
Brands
I Can Read!
Faithgirlz
The Berenstain Bears
The Beginner's Bible
Adventure Bible
The Jesus Storybook Bible
Freebies
About
Videos
Blog
Kidz Review Krew
Brands
Faithgirlz
Faithgirlz empowers girls to joyfully explore, grow, and proclaim their Christian faith. Books, Bibles, and journals that speak to the needs of today’s 9-12 year old girls.
Sort by
Date
Title
Search Books...
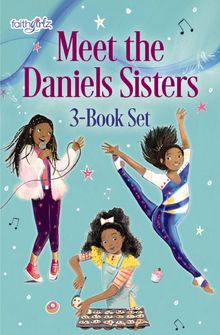
Meet the Daniels Sisters
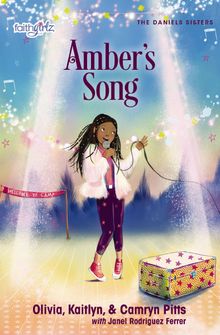
Amber’s Song
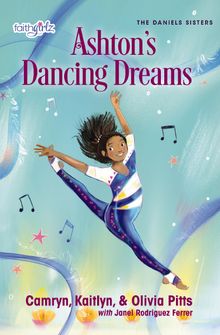
Ashton’s Dancing Dreams
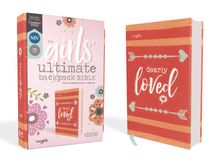
NIV, Girls’ Ultimate Backpack Bible, Faithgirlz Edition, Compact, Flexcover, Coral, Red Letter, Comfort Print
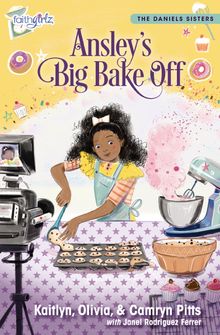
Ansley’s Big Bake Off
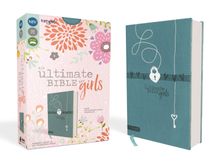
NIV, Ultimate Bible for Girls, Faithgirlz Edition, Leathersoft, Teal
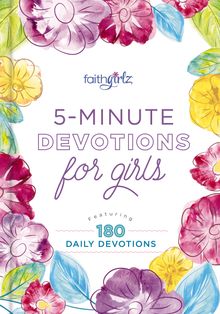
5-Minute Devotions for Girls
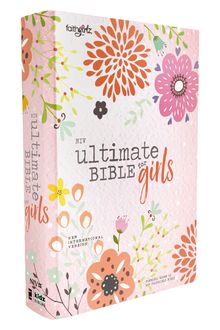
NIV, Ultimate Bible for Girls, Faithgirlz Edition, Hardcover
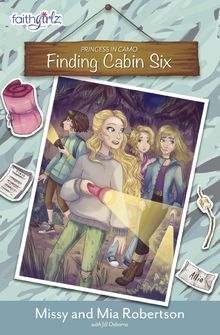
Finding Cabin Six
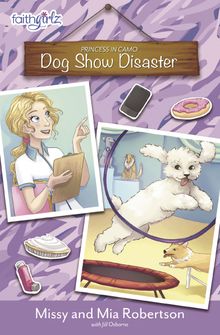
Dog Show Disaster
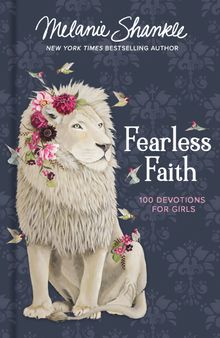
Fearless Faith
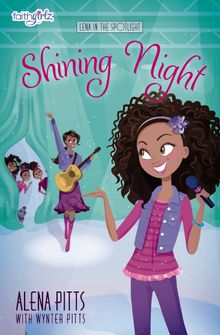
Shining Night
1
2
3
…
6